Your customers reach their documents in three ways. Optionally, the app also sends them by email through your own mailbox.
1. In the customer account
If your shop uses the new customer accounts (Shopify › Settings › Customer accounts), the Invoices action appears automatically on the order page of the customer account. Customers download their finished invoices and credit notes there as PDFs.
For the order status page, open Settings › Checkout in Shopify, choose Edit on your checkout configuration, switch to the Order status page at the top, add the Invoice history app block and save. The app’s overview shows whether this is set up.
Classic customer accounts are not supported. The link in the order confirmation still works.
2. Link in the order confirmation (recommended)
Under Templates › How customers get their invoice you find 1. Link in the order confirmation (recommended). Copy the code, open Settings › Notifications › Customer notifications › Order confirmation in Shopify, choose Edit code and paste it below the order summary. Then check it with a test order.
The link works right away: if the invoice is not created yet, for example because payment is still pending, customers see a waiting page that refreshes itself.
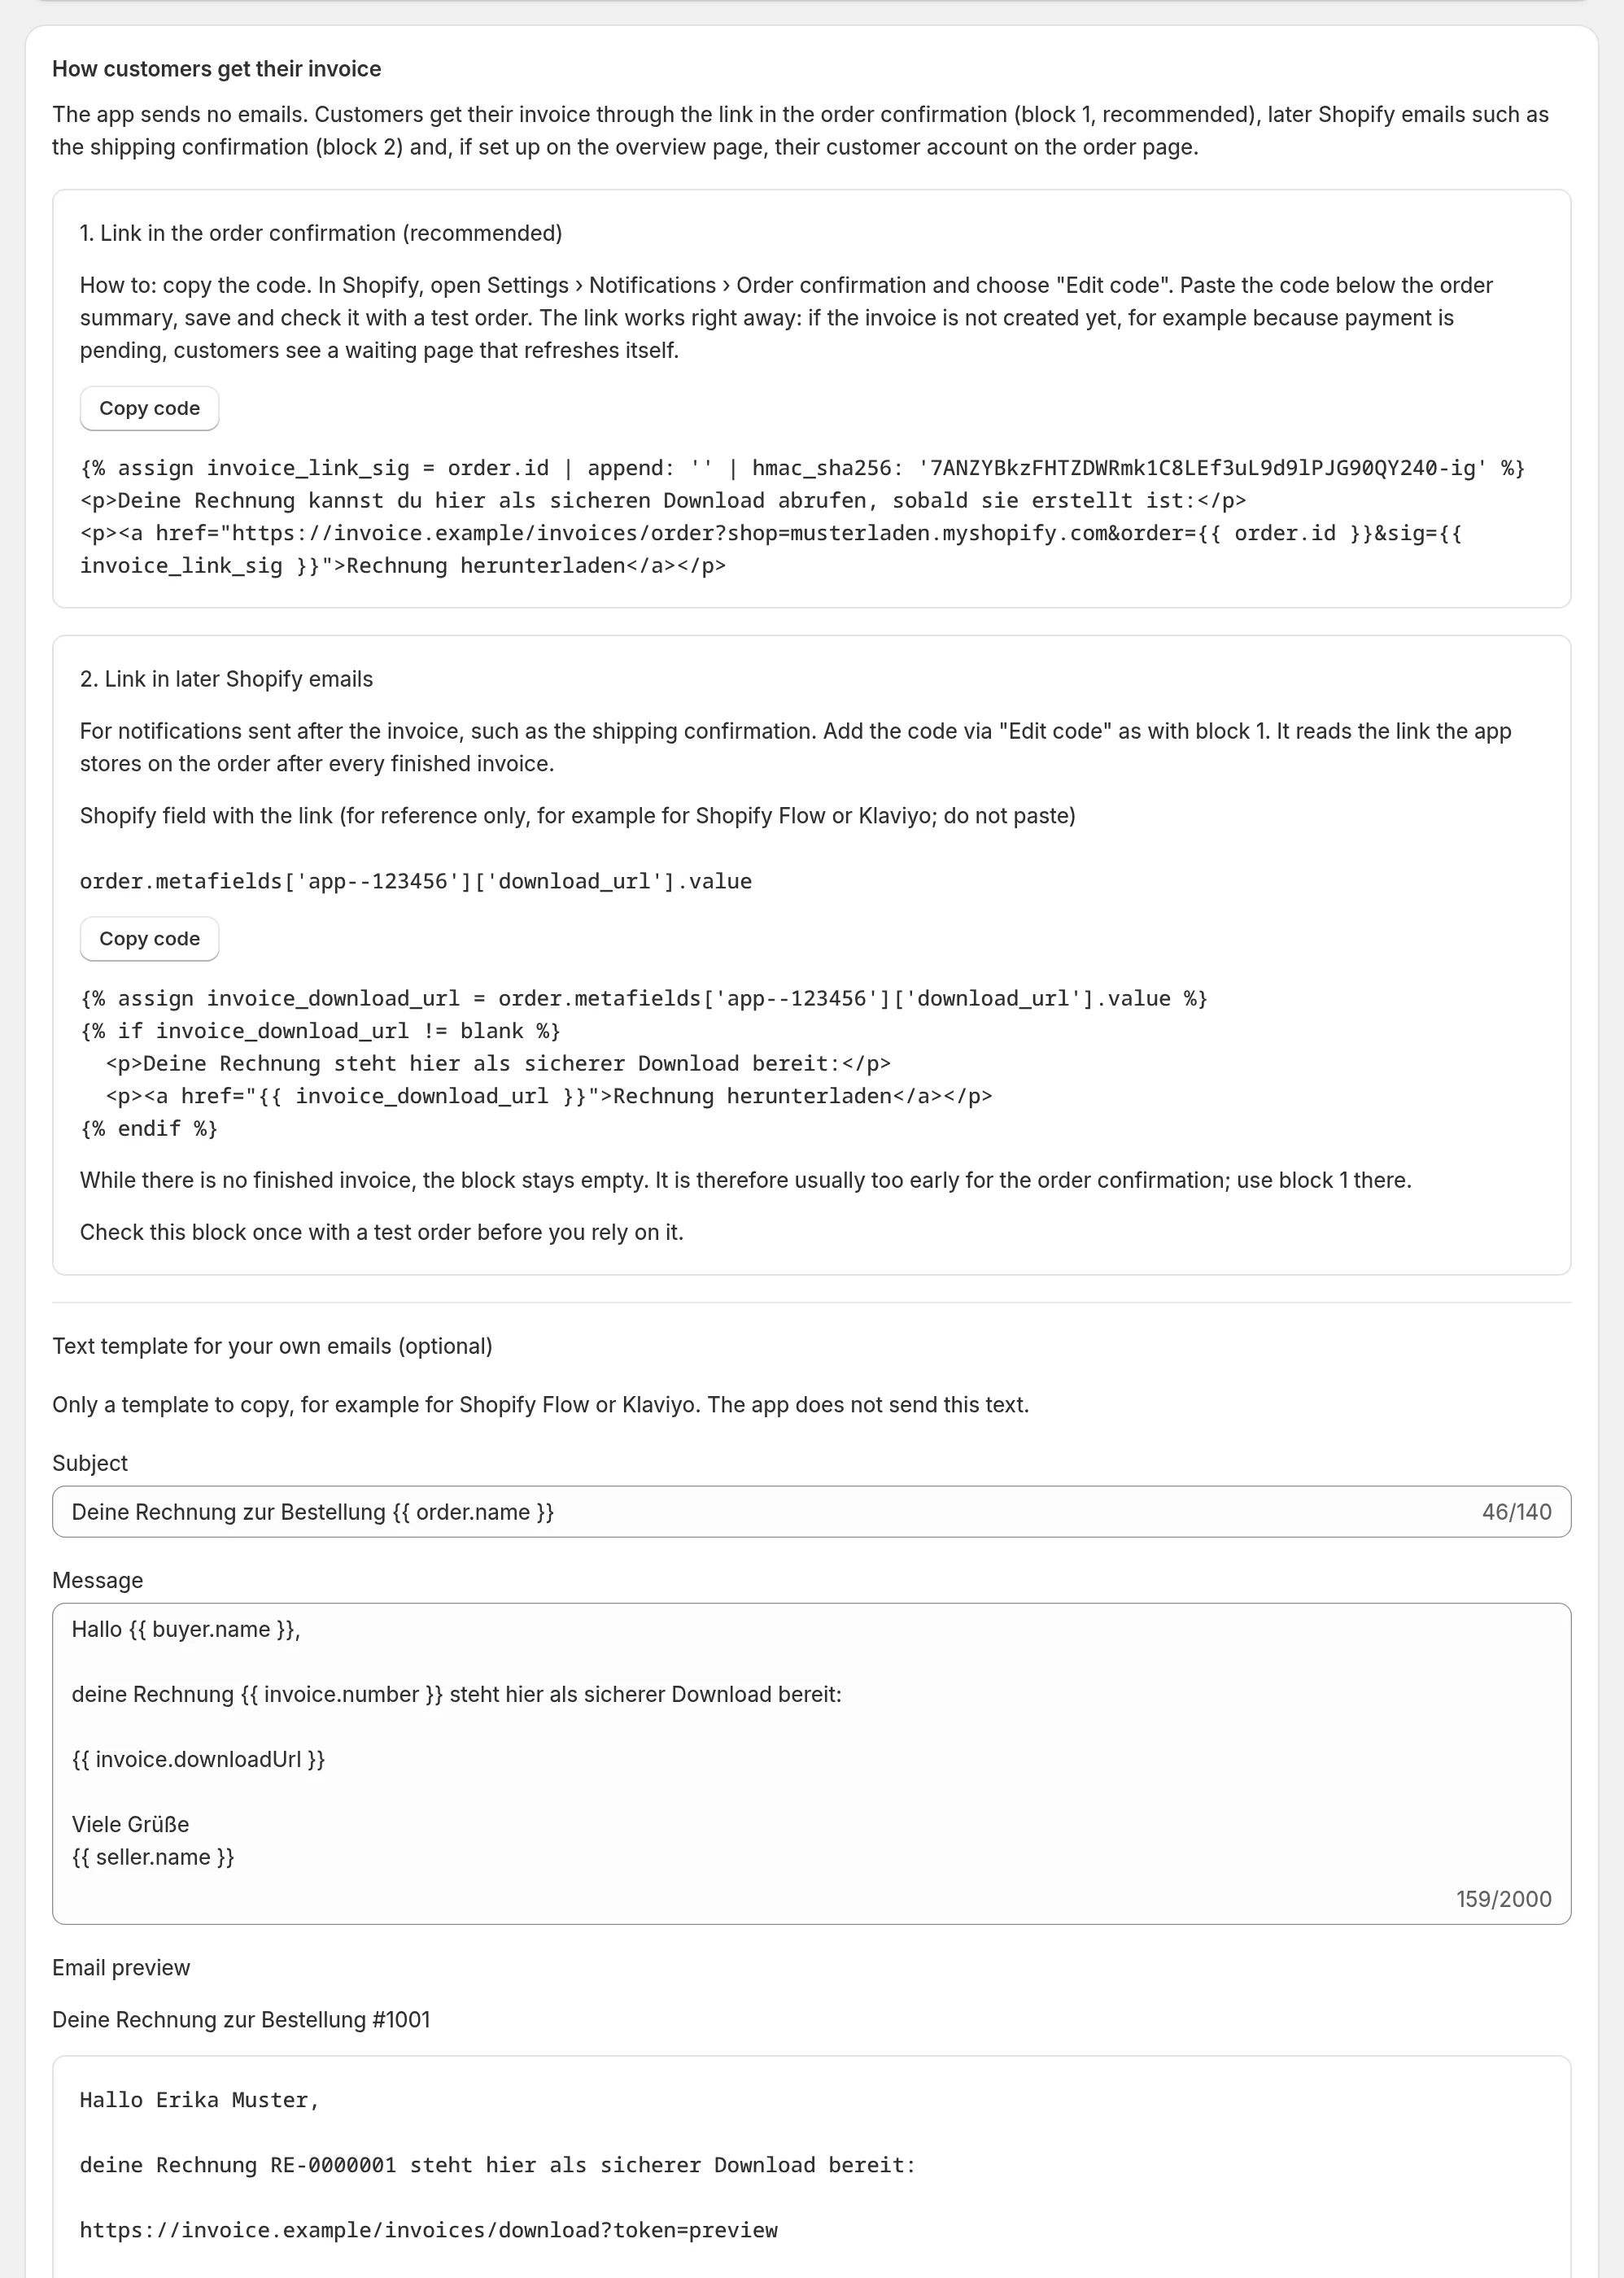
3. Link in later Shopify emails
2. Link in later Shopify emails is for notifications sent after the invoice, such as the shipping confirmation. The block reads the link the app stores on the order after every finished invoice. If there is no finished invoice yet, it stays empty; for the order confirmation, use block 1.
Send documents by email (optional)
Under Settings › Send documents by email you can let the app send every finished invoice and credit note as a PDF to the order’s email address – through your own mailbox (SMTP). Replies from your customers come straight to you. The switch is off by default.
- Access details: SMTP server, port, encryption (STARTTLS or SSL/TLS), user name and password of your mailbox. The password is stored encrypted and never shown again.
- Sender: sender address (empty = your email for customer questions; it must belong to your mailbox) and sender name (empty = your company name).
- Copy to (BCC): optional, for example for your archive.
- Send test email sends a test message with the entered details to the sender address. Use it to check the access details before you switch sending on.
Only documents finished after you switch it on are sent. Sending runs in the background a few minutes after creation; if sending clearly fails, the app tries again, with at most five attempts in total. If it is unclear whether an email went out (for example because sending stopped halfway), the app does not resend it automatically. For an XRechnung the app also attaches the XML file. The links in the customer account and in Shopify emails keep working as described above.
Shopify Flow: “Document ready” trigger (optional)
With Settings › Automatic documents › Start Shopify Flow when a document is ready, the app reports every finished invoice and credit note to Shopify Flow as the Document ready trigger. It provides the order, document number, document type, download link, date, gross amount and currency. In Flow you build your own workflows from it, for example sending the link through a connected email app or tagging the order. If a report fails, the app retries it within 24 hours after the document is finished, with at most five failed attempts; delivery is not guaranteed.
Your own emails with Shopify Flow or Klaviyo
Text template for your own emails (optional) is a template to copy. The app does not send this text itself; it is meant for emails your own tool sends. Your tool reads the link from the order field where the app stores it after every finished invoice (the code block 2. Link in later Shopify emails shows the field name), or from the Flow trigger above.
Create a new customer link
Under Invoices › Recent documents, every invoice has Create new customer link. It prepares the customer link for that invoice: if the existing link is still valid, the app keeps using it. If it has not been stored on the order successfully yet, the app tries again – except for orders with an excluded tag. If storing fails, the app shows a notice. If a link was blocked after a privacy request, it stays blocked; blocked links are listed under History & catch-up › Blocked invoice links.